
Create Tills and Kiosks
Creating a Till
Here you can create your tills! You can many or few based on your specific needs. It is recommended to be pretty strict with how these tills are configured and used as there is a lot of reporting built into ScryPOS that allows you to analyse and report on the performance of your tills. This means if you trade at a market, card show, in store or vend on the road, if you have a till for each situation you can run analytics on each till to assess their performance against each other.
Go to Tills > Manage

Create Till
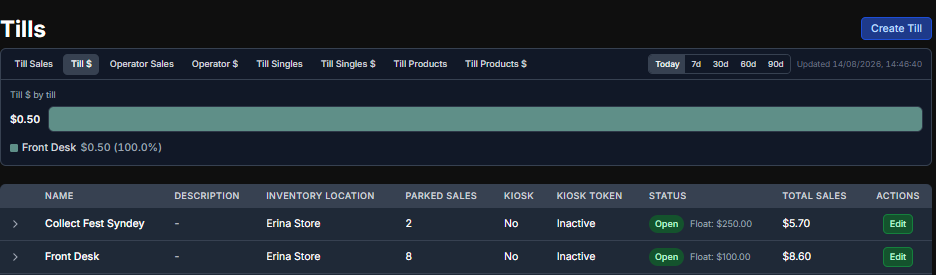
Give your Till a Name
Assign it to an inventory Location
Select your payment methods (note these are referential only - these is no current support for automatic push in POS to Merchant Terminals)
Creating and Connecting a Kiosk
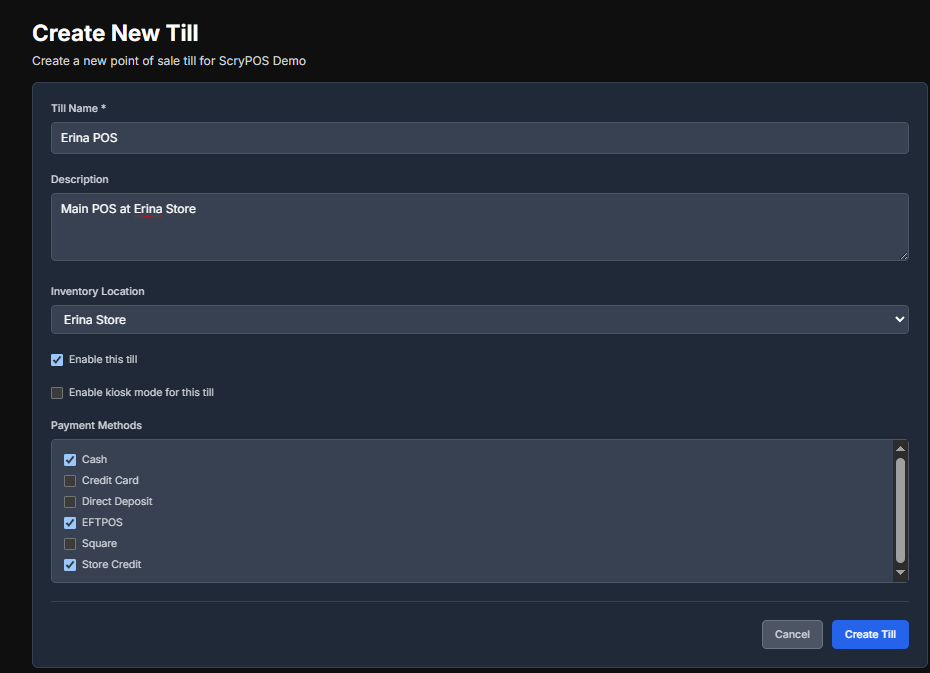
Open the Tills->Manage menu and click Create Till
Enter the name of the new Kiosk till and ensure the "Enable kiosk mode for this till" checkbox is enabled:

Click on the "Edit" button on the row for the kiosk till. The following dialog should appear:
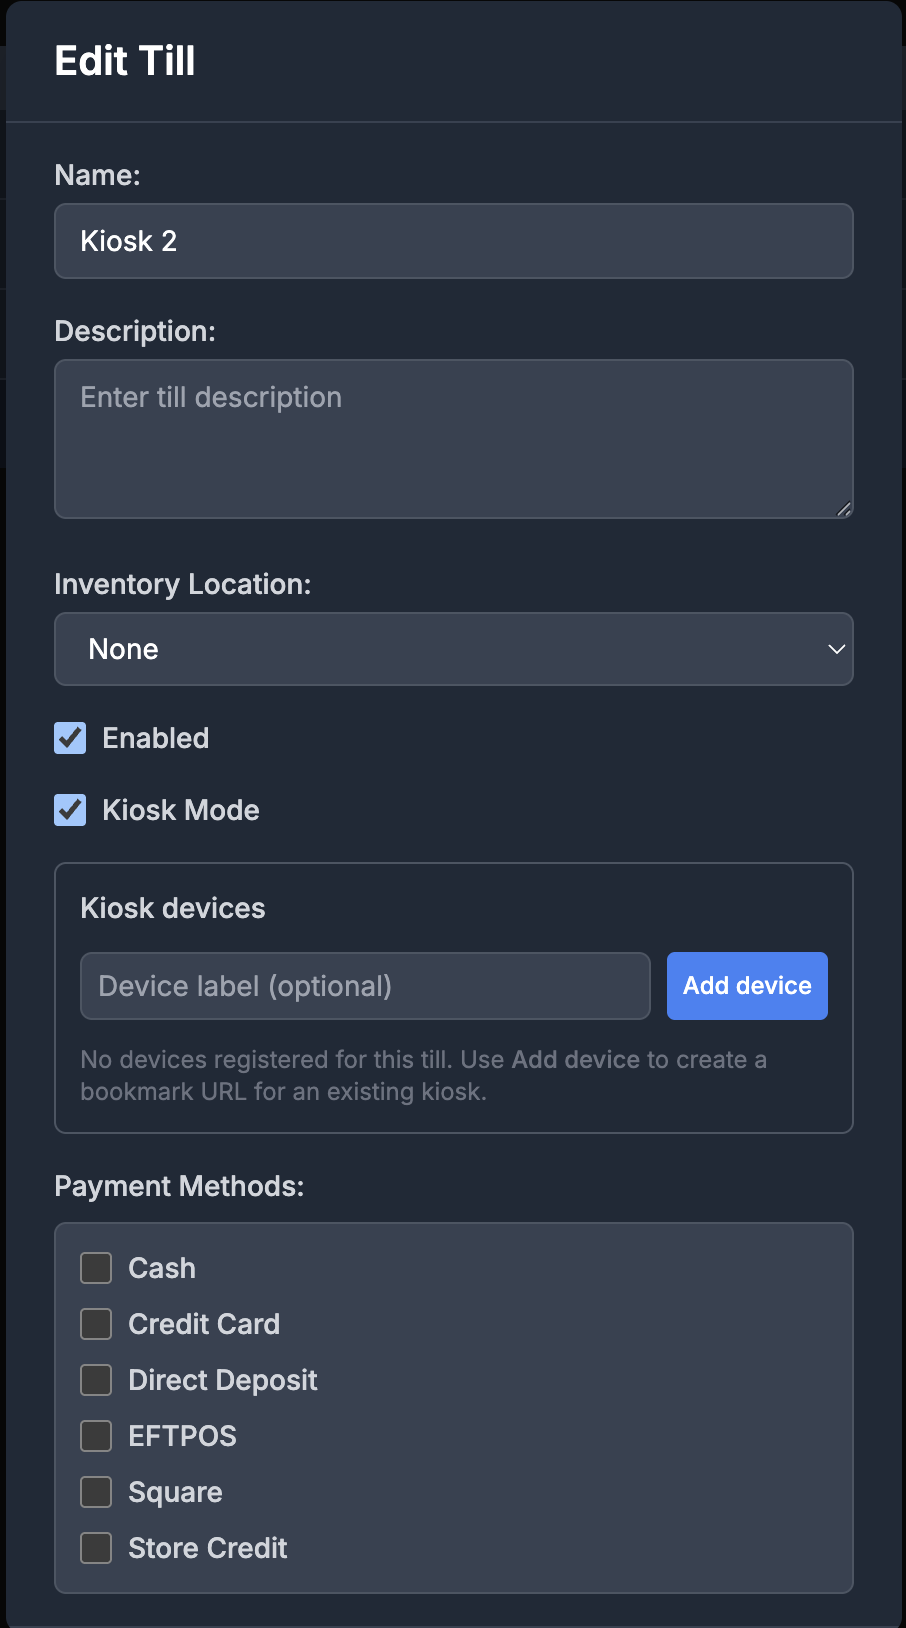
Click on the "Add Device" button, and informaton similar to the following will appear:
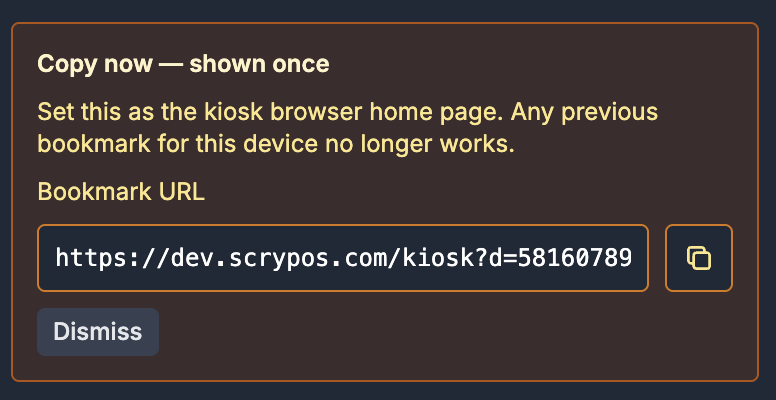
This gives the URL that must be copied to your Kiosk machine to open the kiosk page.
Click on the "copy" icon (shown below) to copy the new URL to the clipboard. From there, transfer the URL to the target kiosk device. This URL remain unchanged unless you choose to regenerate it.

Close the edit till window by clicking Cancel.
On the target kiosk device, open the bookmark URL. A dialog similar to the followng will appear: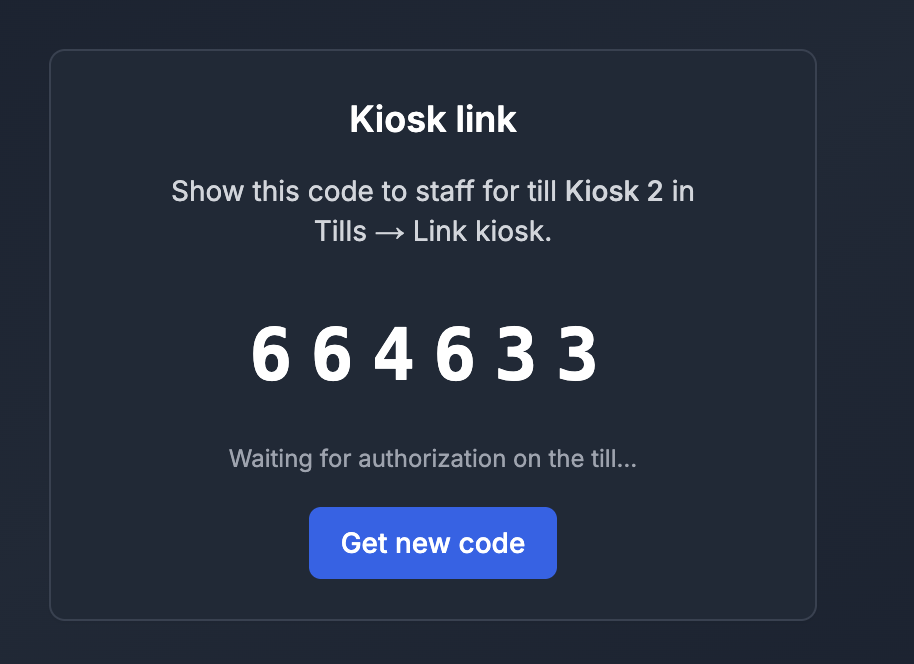
Take a note of this number. It will be needed later.
IMPORTANT NOTE!!!
OPENING A KIOSK IN THE SAME BROWSER AS THE SCRYPOS DASHBOARD IS NOT SUPPORTED!
ALWAYS USE A DIFFERENT MACHINE OR A DIFFERENT BROWSER (I.E. FIREFOX VS CHROME)
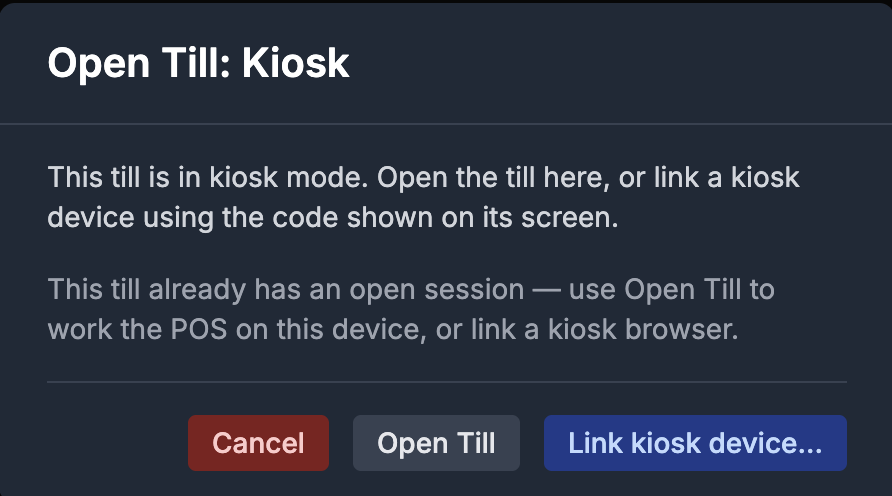
Click on "Link kiosk device", and the following dialog will be displayed:
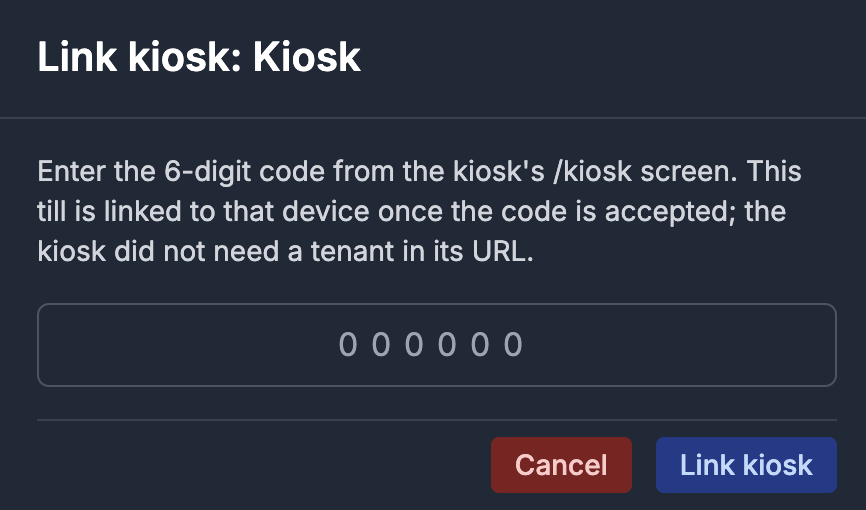
Enter the number that was displayed by the kiosk in step 9, and click "Link kiosk".
The kiosk page should now refresh and show a page similar to the POS page. The kiosk is now active!
Open the Tills->Manage menu and find the till that will be used to process kiosk purchaes. Click on the "Edit" button for that row, and find the "Kiosk parked queue sources" section.
In this section, check the box next to the kiosk and the click "Save Changes"
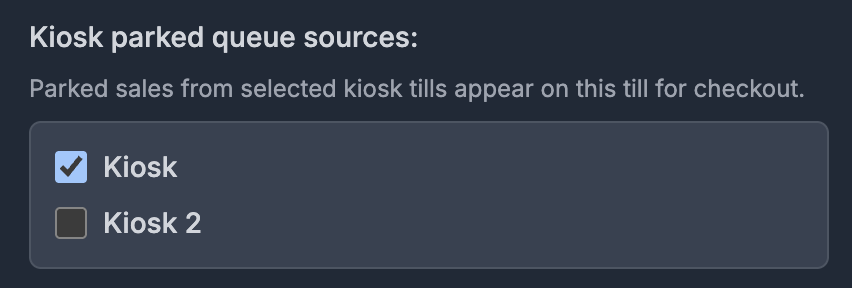
When a kiosk user submits their purchases, you can now access the sale through the Parked menu of the primary till.