Create a Till
If you are keen to get started, here is a checklist of the important items you need know and do before continuing:
Websites you need to know
There are four web sites you will interact with on a daily basis:
1. ScryPOS administration - https://app.scrypos.com
This is the primary user interface for managing your store, opening tills, managing buy lists and customers.
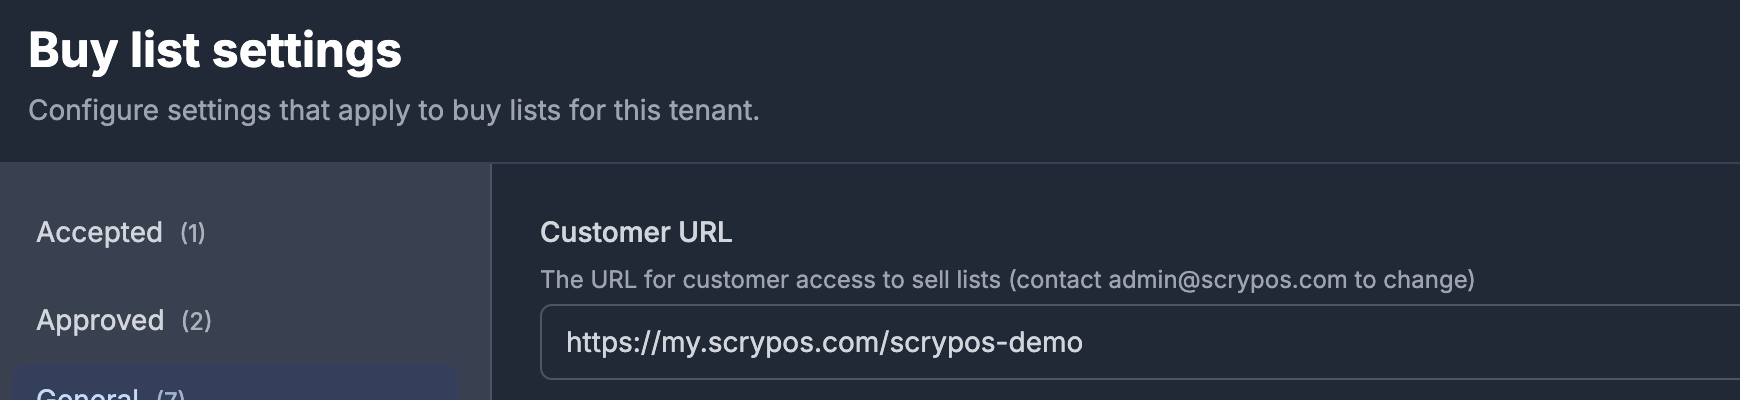
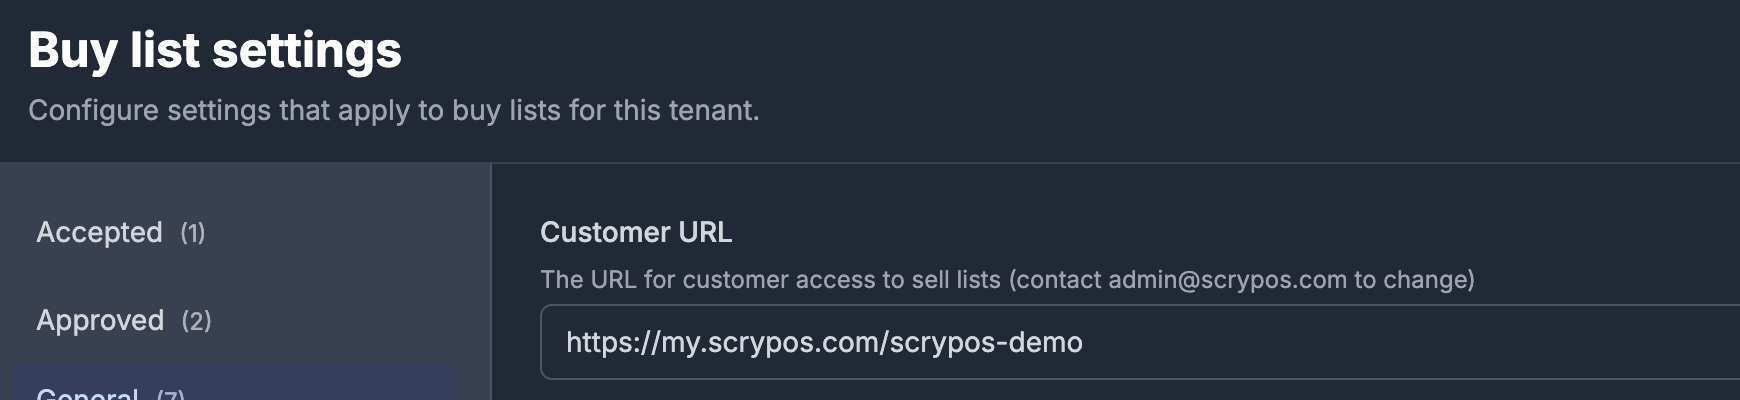
2. Customer portal - https://my.scrypos.com/{store-name}
This is the web site your customers can use to create sell lists, and create Shopify discount codes.
The exact URL for the customer portal can be found at the top of the Buy-list->Settings menu
3. Shopify admin -
Shopify
https://
Store settings
Open the Settings menu, select Store, and do the following:
select Store, and verify the values on the Account, Contact, and Tax tabs
select Ecommerce Provider, and press "Test eCommerce Connection". If this does not display a green "Shopify Integration Test Successful" box, then contact ScryPOS support at support@scrypos.com
select Tax, and ensure that the Registered for GST checkbox and ABN are correct if you are registered for GST
select Receipt, and ensure the values are as you require on your tax invoices and receipts
Card singles price settings
Open the Sell Prices menu, and do the following:
In the Card Condition menu, set the price multiplier for each card condition as a percentage. Press the "Save Changes" button.
In the Rounding menu, set the rounding multiple for all generated card single prices.Press the "Save Changes" button
In the Update & Margin menu, set the margin (percentage added to the market price) for each card game. Leave the "Enable singles price update" checked. Press the "Save Changes" button for each game.
In the Exchange Rate menu, you can set a manual exchange rate or use the automatically retrieved rate, which is updated daily.
In the Rarities menu, set the price floor (minimum price) for each rarity within each game.
Create a Till