Quick Setup
- Check with ScryPOS support (support@scrypos.com) that kiosk support is enabled for your account.
- Open the Tills->Manage menu and click Create Till
- Enter the name of the new Kiosk till and ensure the "Enable kiosk mode for this till" checkbox is enabled:

- Click "Create Till", and the list of tills will be displayed including the new kiosk till you just created.
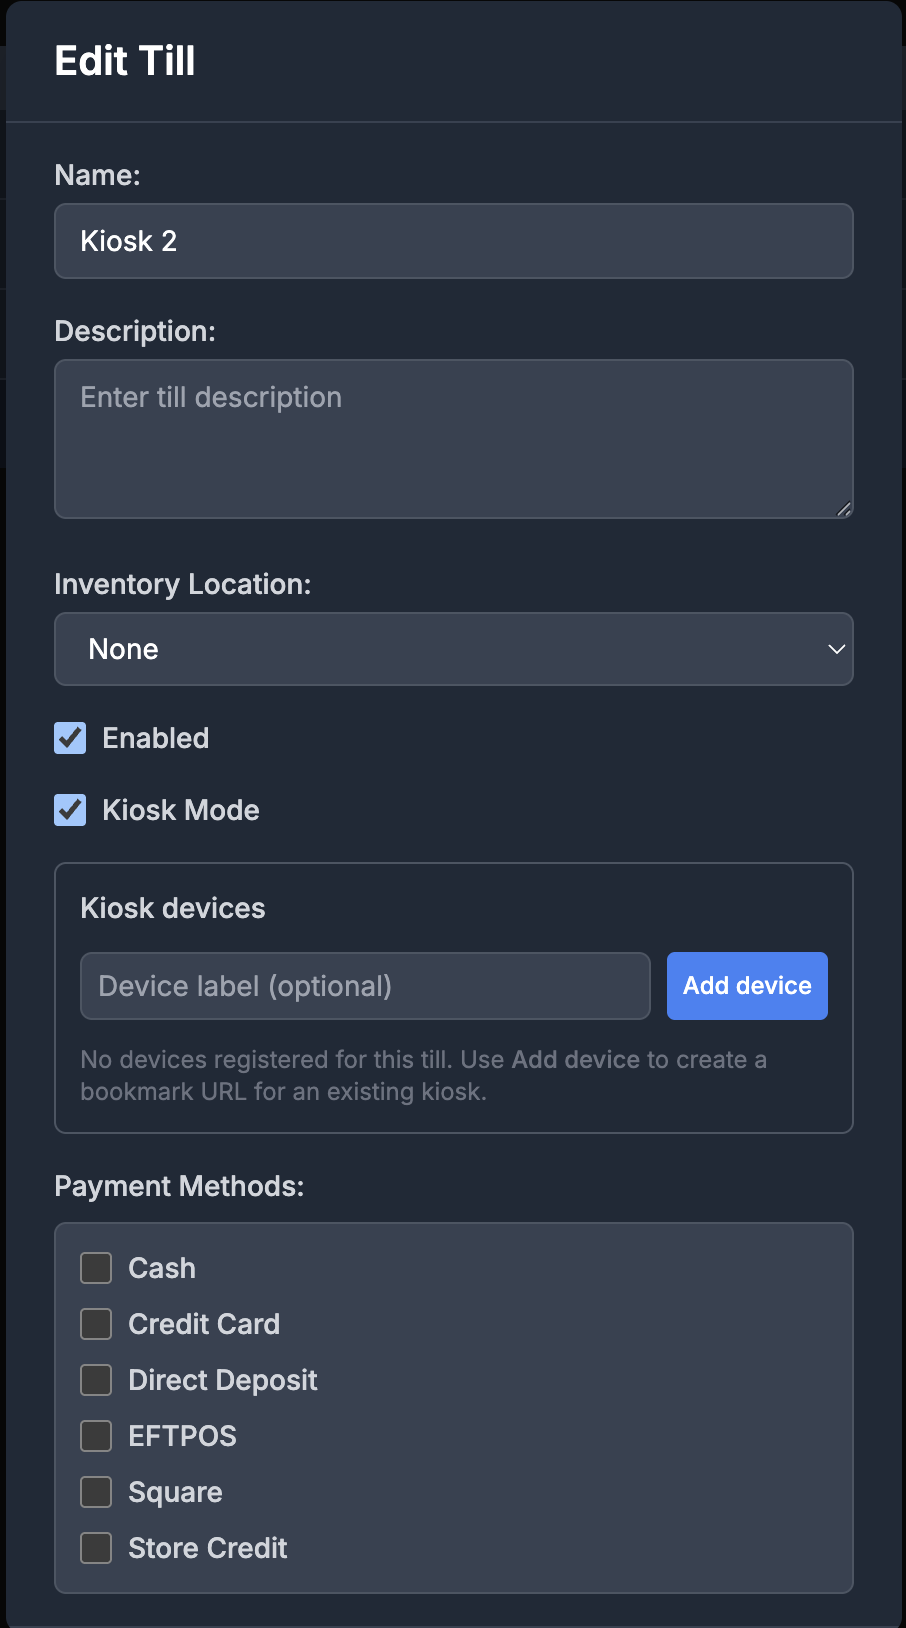
- Click on the "Edit" button on the row for the kiosk till. The following dialog should appear:
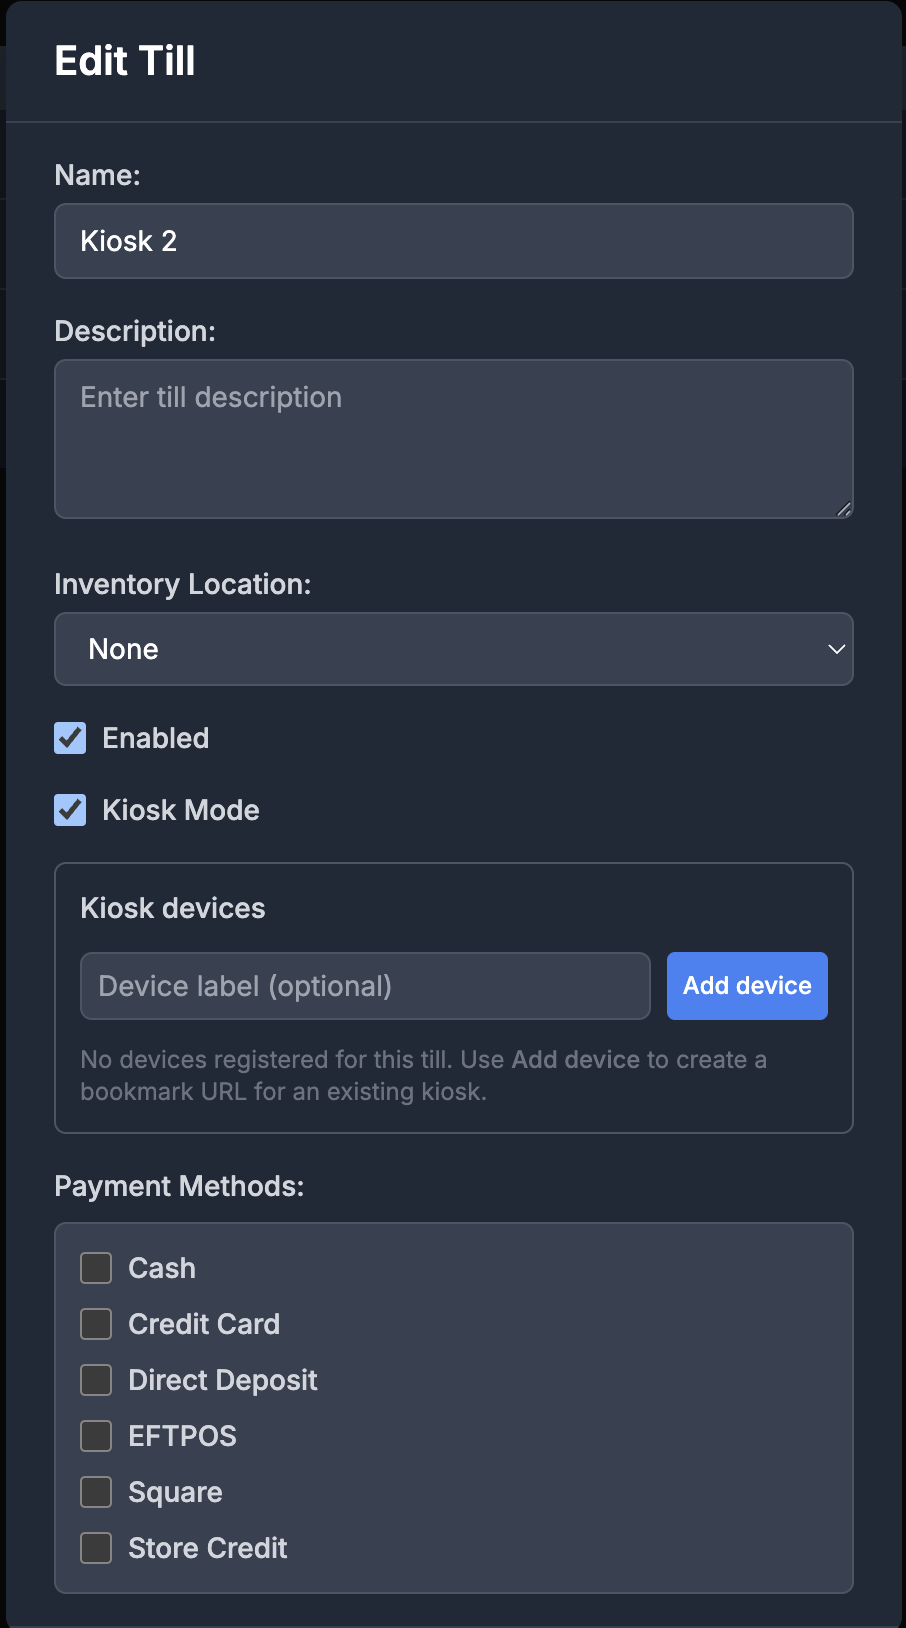
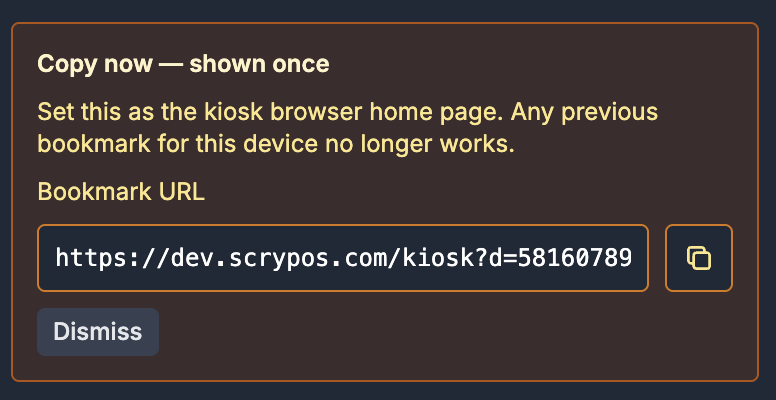
- Click on the "Add Device" button, and informaton like the following should appear:
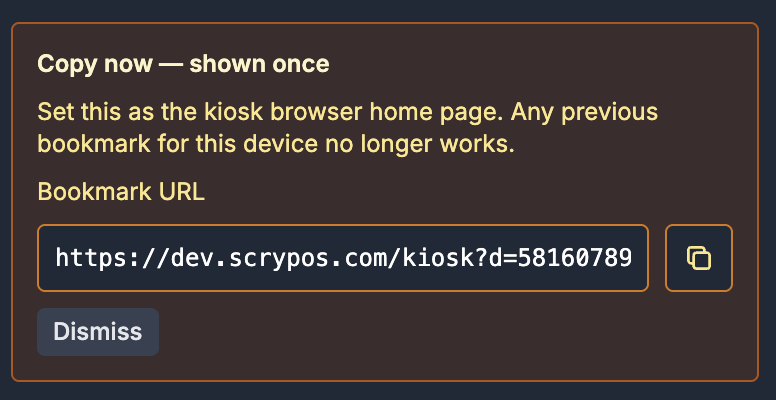
This gives the URL that must be copied to your Kiosk machine to open the kiosk page. -
Click on the "copy" icon (shown below) to copy the new URL to the clipboard. From there, transfer the URL to the target kiosk device. This URL remain unchanged unless you choose to regenerate it.

- Close the edit till window by clicking Cancel.
-
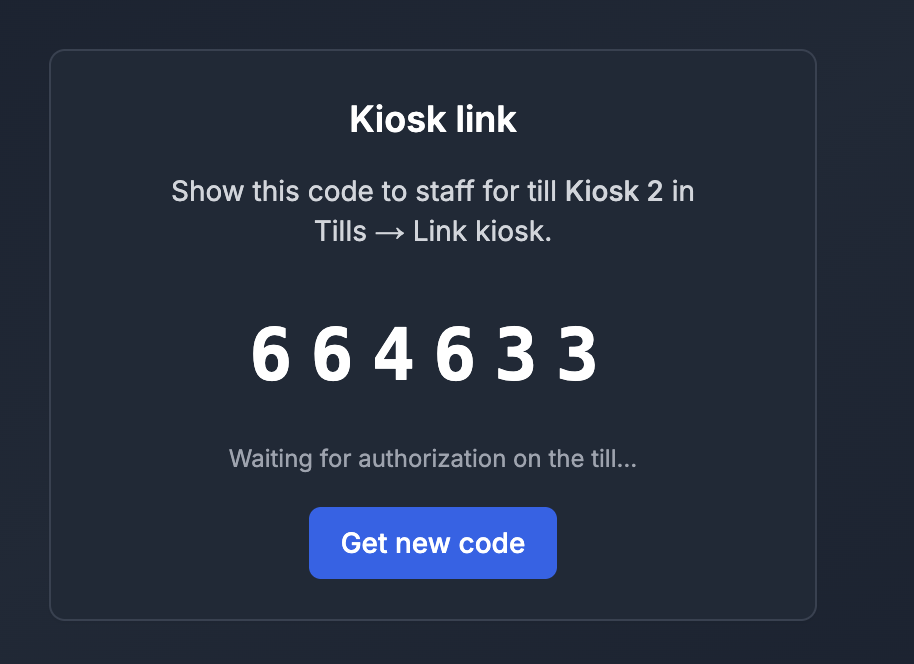
On the target kiosk device, open the bookmark URL. A dialog similar to the followng will appear:
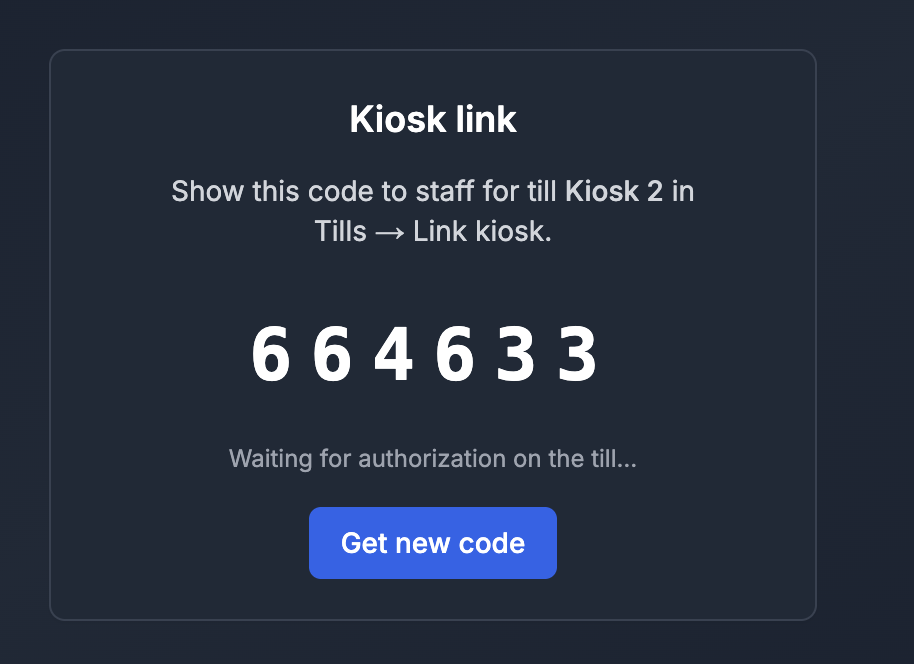
Take a note of this number. It will be needed later.
IMPORTANT NOTE!!!
OPENING A KIOSK IN THE SAME BROWSER AS THE SCRYPOS DASHBOARD IS NOT SUPPORTED!ALWAYS USE A DIFFERENT MACHINE OR A DIFFERENT BROWSER (I.E. FIREFOX VS CHROME)
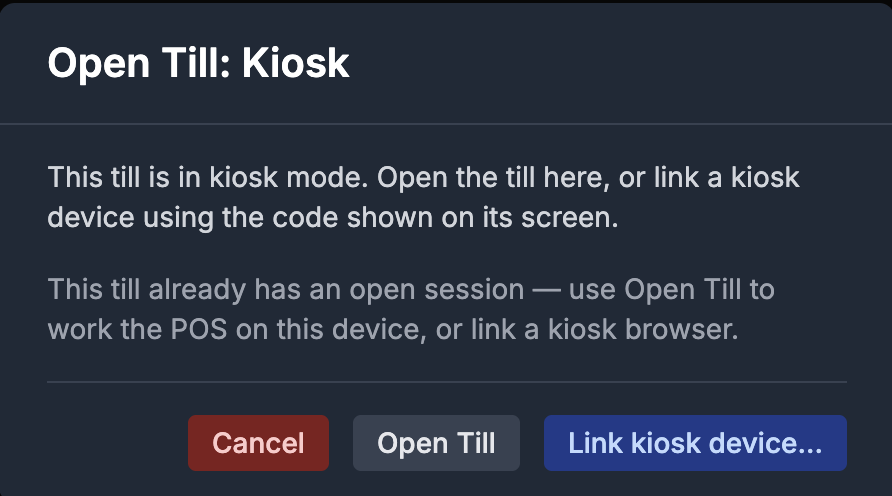
- On the ScryPOS dashboard, find the kiosk in the list of tills, and click on the row. The following dialog will be displayed:
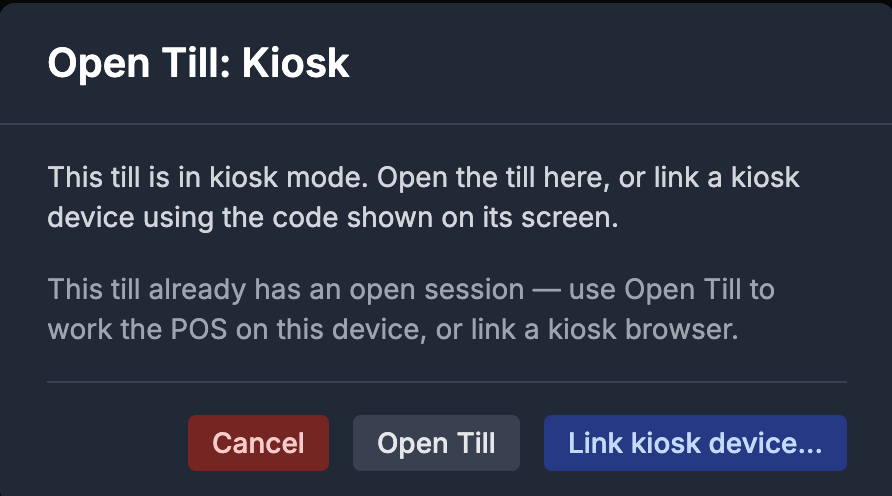
-
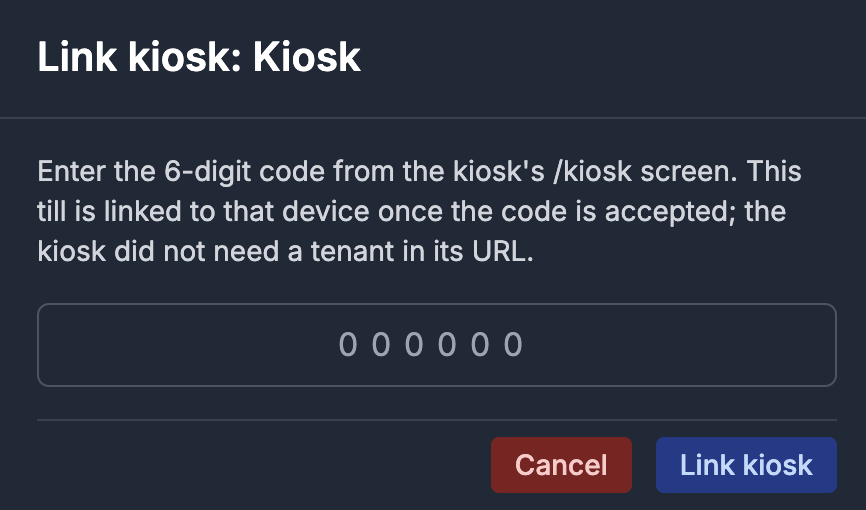
Click on "Link kiosk device", and the following dialog will be displayed:
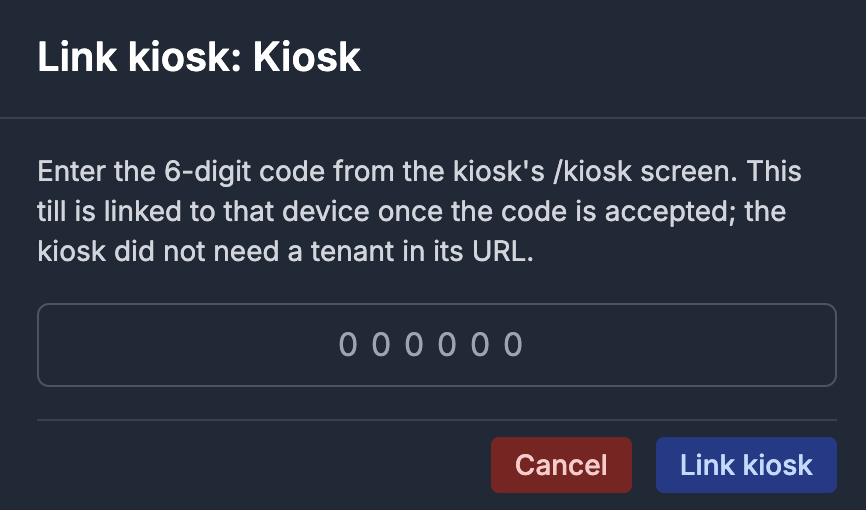
-
Enter the number that was displayed by the kiosk in step 9.
-
The kiosk page should now refresh and show a page similar to the POS page. The kiosk is now active!
-